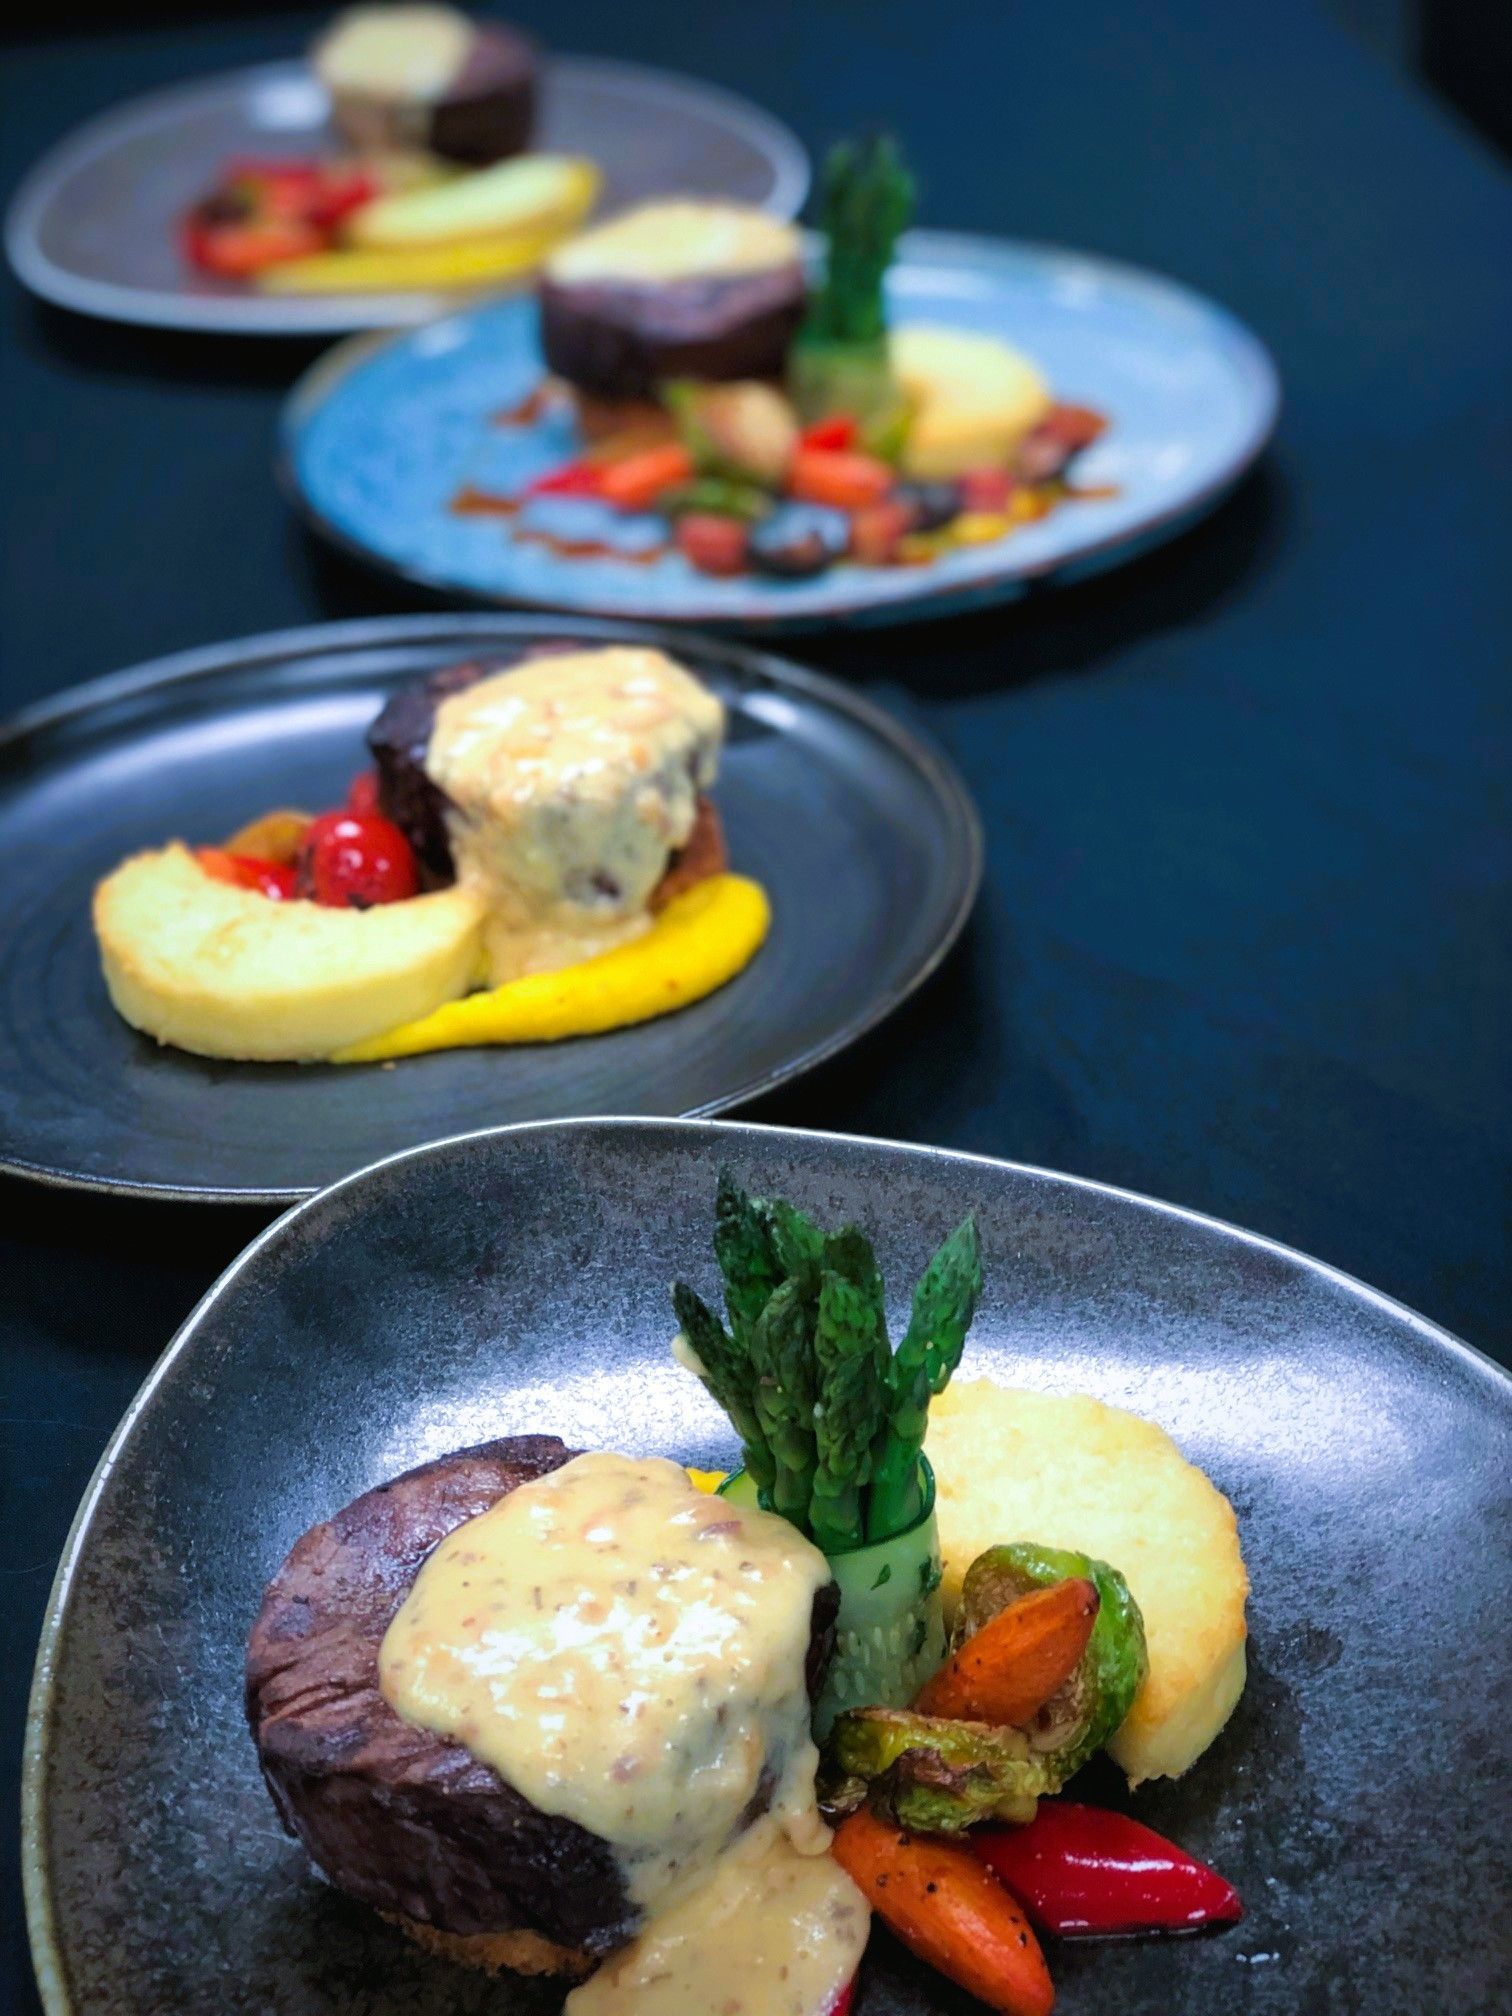
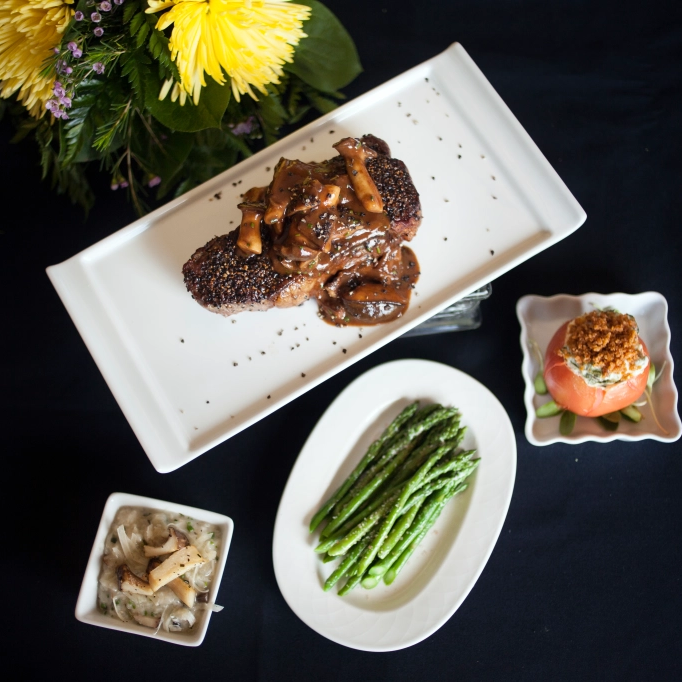
Welcome to Chef Daniel Pliska’s Culinary World
Sharing my passion for the joy of cooking, pastry, Desserts and garden to table


A Legacy of Flavor, A Passion for Teaching
Chef Daniel Pliska brings 49 years of distinguished culinary and pastry experience to the next generation of chefs as the Savory Chef Instructor at Ozarks Technical College in Springfield, Missouri. After decades of working in and leading prestigious kitchens across the U.S. and Europe, Chef Daniel now dedicates himself to shaping future culinary professionals through expert instruction, mentorship, and real-world insight.
From Executive Chef to Culinary Educator
About Me
Before transitioning into teaching, Chef Daniel served as the Executive Chef and Assistant Manager of the University Club of MU in Columbia, Missouri. His career includes over 27 years as an Executive Chef in luxury hotels and private clubs and has worked and trained in elite establishments in Washington DC, Düsseldorf, Germany, and New Orleans. His extensive background reflects not only his culinary mastery but also his leadership in high-pressure, world-class kitchens.


Where Culinary Excellence Meets Passionate Education
Recognized Leader and Industry Contributor
Chef Daniel's contributions to the culinary world have been recognized with numerous accolades, including:
- Presidential Medallion from the American Culinary Federation (ACF)
- Induction into the American Academy of Chefs
- Over 10 ACF medals and awards in cooking and pastry, including two grand prizes and a gold medal
- Long-standing Certified Executive Chef (CEC) with the ACF
- Certified Executive Chef with Club Corporation of America
From the World’s Kitchens to the Classroom
Author, Mentor, and Advocate for Culinary Arts
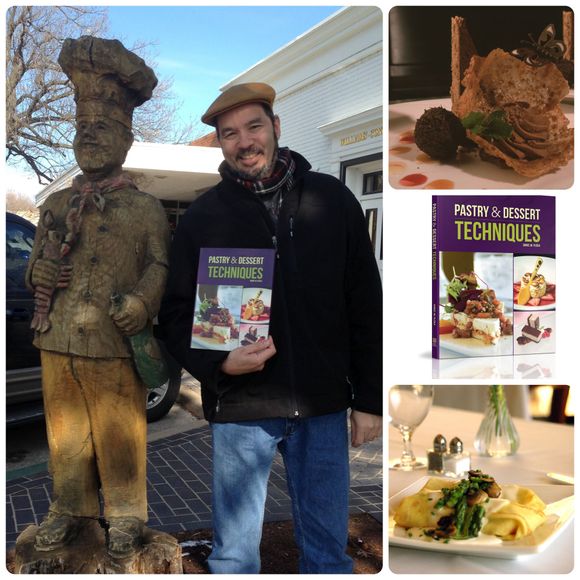
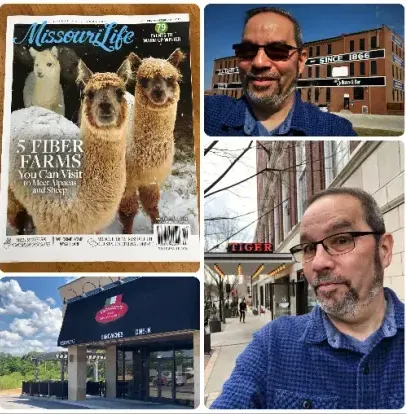
In addition to his culinary expertise, Chef Daniel is a published author of the acclaimed textbook “Pastry & Dessert Techniques”, and a contributor to the ACF National Apprenticeship Training curriculum. His voice and knowledge have been shared in over 35 professional articles, as well as through his 5-year role as a restaurant columnist for Missouri Life Magazine.
Passion Meets Purpose
Chef Daniel is more than an instructor — he is a mentor, a lifelong learner, and a passionate advocate for sustainability, quality, and innovation in the culinary arts. He is an active member and a previous member of many professional organizations including:
- The American Culinary Federation (ACF)
- Chaîne des Rôtisseurs
- American Academy of Chefs (AAC)
- International Association of Culinary Professionals
- Slow Food Movement
Cooking with Legacy
List Of Our Categories


Sign up to for an exclusive membership to access over 40 blog posts with signature recipes and receive personal monthly mailings for $6 a month. Can be canceled at any time.
Now Available!
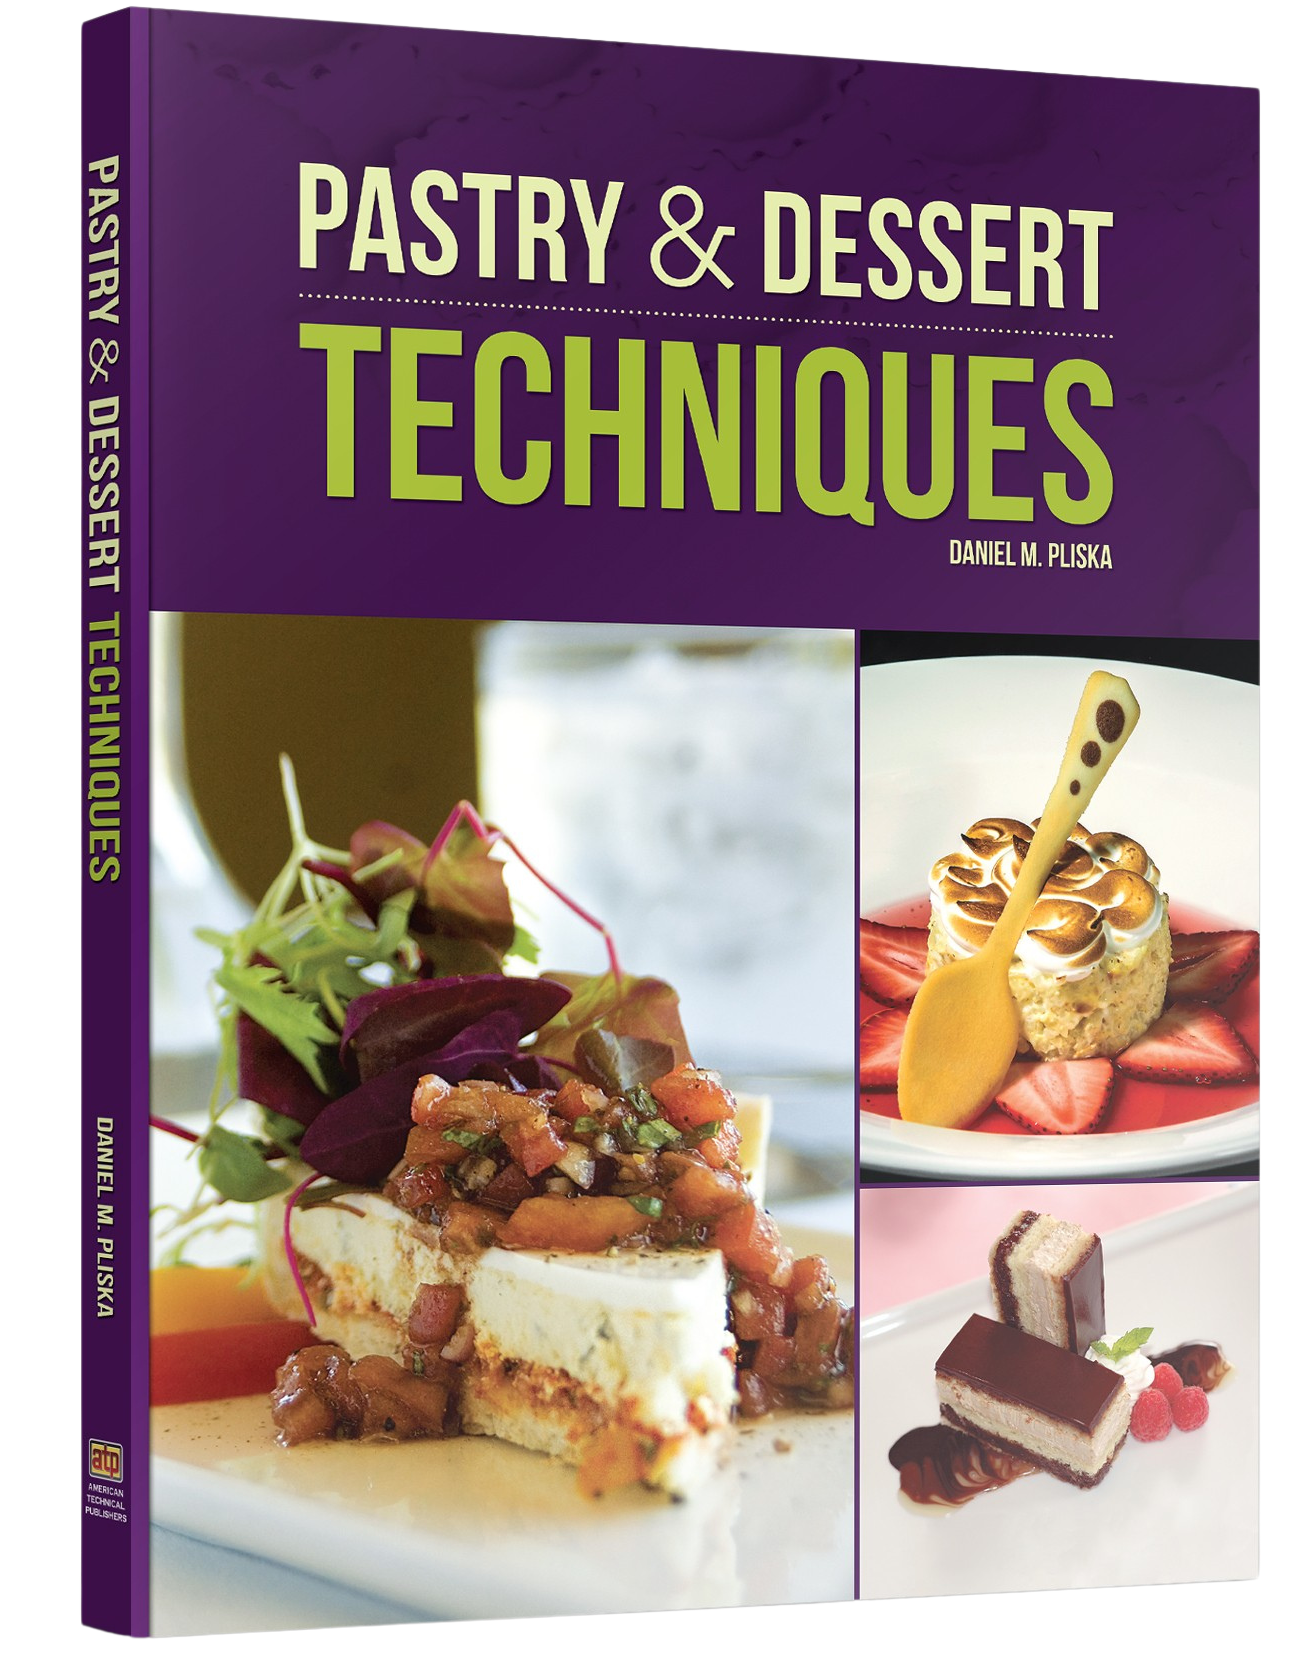
Pastry and Dessert Techniques
Craving to master the art of pastries and plated desserts? We’re excited to announce our newest feature: Pastry and Dessert Techniques, now added to our main content collection! Whether you're a baking enthusiast or a seasoned pastry lover, this exclusive section is filled with expert tips, professional techniques, and elegant finishing touches to take your skills to the next level.


Order a Signed Copy of the Book
Ready to bring the techniques to your kitchen?
You can now order a signed copy of our Pastry & Dessert Techniques guide, packed with:
- Step-by-step visuals
- Pro tips from pastry chefs
- Easy-to-follow instructions
- Troubleshooting for common mistakes
- Stunning photo inspiration
✨ BONUS: Every signed copy comes with 3 bonus recipes you won't find anywhere else—handpicked by our pastry team. To order the signed copy contact us through the contact page.

Subscribe to The FREE Culinary World with
Chef Pliska